
In the crypto market, using centralized exchanges can be risky. While they make it easy to buy or sell cryptocurrencies using USDT without much technical knowledge, they come with serious security concerns. In recent years, several exchanges have been hacked, resulting in millions of dollars being stolen from users’ accounts. Platforms like WazirX and FTX are examples of how quickly things can go wrong, and users often don’t get their funds back.
Centralized exchanges are fine for beginners with small investments, but if you hold a large amount of crypto, it’s much safer to move your funds to a decentralized or hardware wallet.
One of the best decentralized wallets is MetaMask. In this guide, I’ll explain everything you need to know about MetaMask—how to create it, set it up, and use it safely. If you’re new to crypto, make sure to read this complete guide from start to finish.
What is MetaMask?
MetaMask is a crypto wallet that lets you store, send, and receive cryptocurrencies safely without depending on a centralized exchange. It’s a decentralized wallet, which means you fully control your funds and private keys — no one else (not even MetaMask) can access them.
You can use MetaMask as a browser extension (for Chrome, Firefox, Edge, or Brave) or as a mobile app on Android and iOS. It’s mainly used to connect with decentralized applications (DApps) like Uniswap, OpenSea, or PancakeSwap to trade tokens, buy NFTs, or play blockchain games.
Example:
Let’s say you want to buy an NFT from OpenSea. You can open the OpenSea website, connect your MetaMask wallet with one click, and then purchase the NFT directly using Ethereum (ETH) from your wallet. There’s no middleman involved — only you control your transaction.
In simple terms, MetaMask is your gateway to the decentralized world of crypto and Web3, giving you full control over your digital assets.
How to Create Meta Mask Wallet.
Creating a MetaMask wallet is very easy, but there are a few important steps you must handle carefully. Your password and private key (also called a secret recovery phrase) are extremely important. If you lose or forget them, no one can recover your wallet or funds—not even MetaMask. Always store them safely and never share them with anyone.
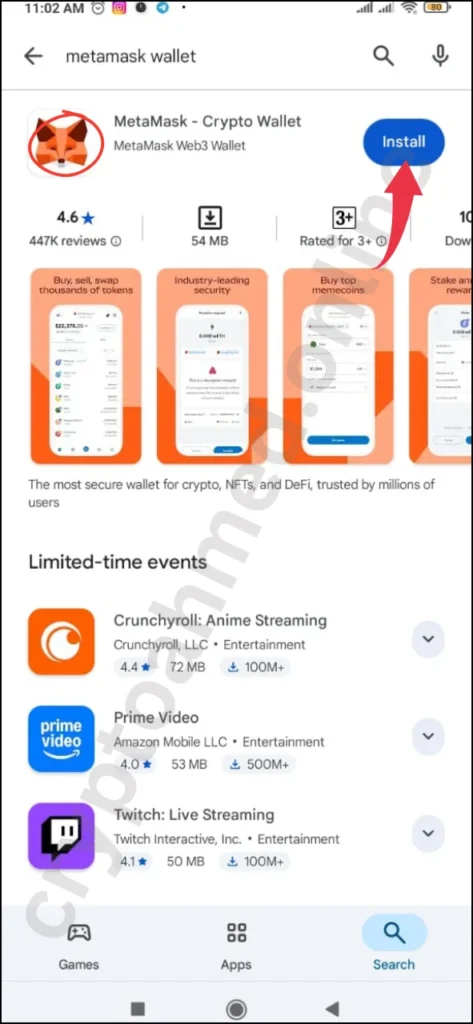
Step 1: Install MetaMask App
First, download and install the MetaMask app from the Google Play Store (for Android users) or the App Store (for iPhone users).
If you already have MetaMask installed, make sure it’s updated to the latest version to avoid missing important features.
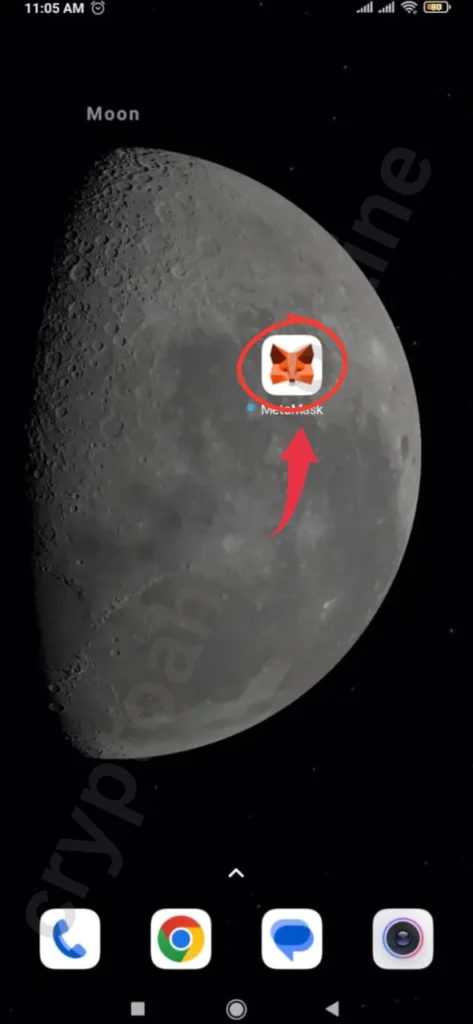
Step 2: Open MetaMask
Once the installation is complete, open the MetaMask app on your device.
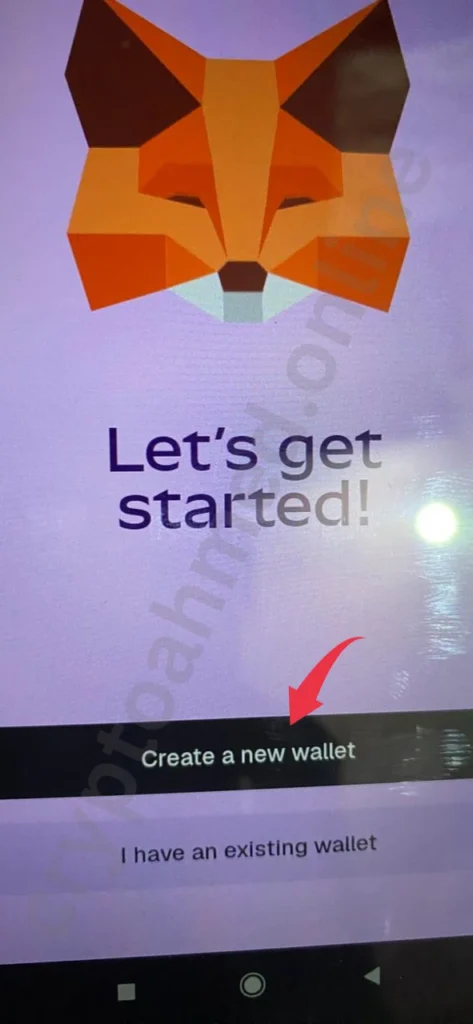
Step 3: Create a New Wallet
On the home screen, you’ll see an option that says “Create a New Wallet.” Tap on it to start setting up your wallet.
Step 4: Generate Secret Recovery Phrase
MetaMask will generate a Secret Recovery Phrase (12 words). Write these words down carefully on paper and store them in a safe place.
Never share your recovery phrase with anyone. If you lose it, you won’t be able to access your wallet or recover your crypto funds.

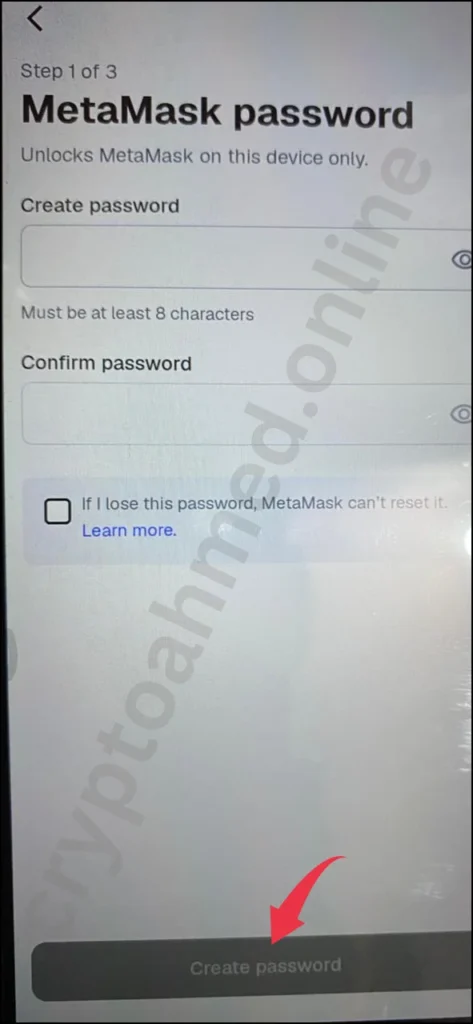
Step 5: Create a Password
Next, set a strong password for your wallet. This password will be required every time you log in to the MetaMask app.
Remember, MetaMask cannot reset your password if you forget it, so keep it stored securely.
Step 6: Confirm Your Recovery Phrase
MetaMask will ask you to confirm your Secret Recovery Phrase by selecting the words in the correct order. This step ensures you’ve written it down correctly.

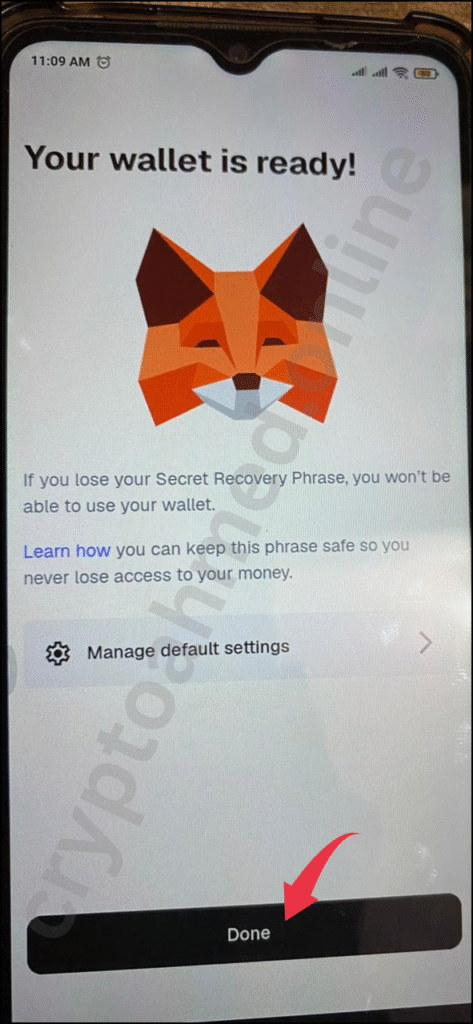
Step 7: Wallet is Ready
Once confirmed, tap on “Done.” Your MetaMask wallet is now ready to use.
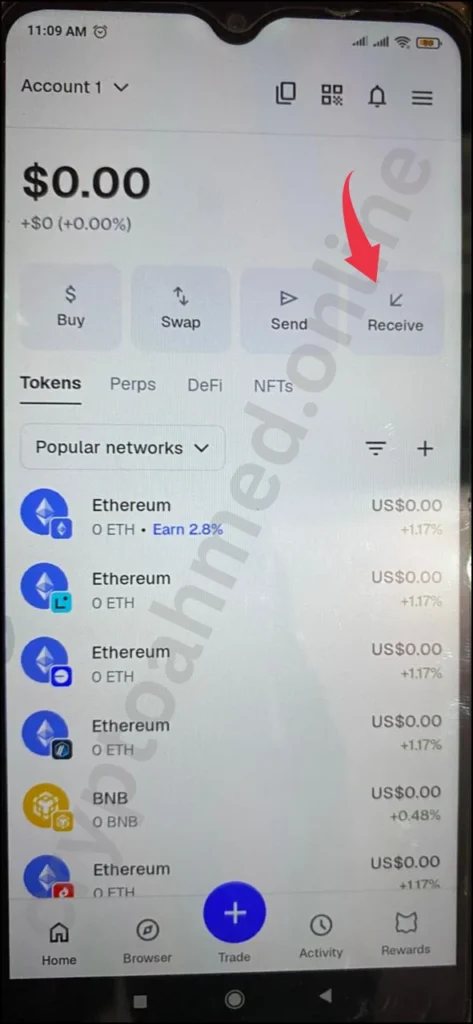
Step 8: Receive Funds
To receive cryptocurrency, tap on the “Receive” button located at the top-right corner of the app. You’ll see your wallet address, which you can copy and share to receive funds.
Step 9: Transfer Funds
MetaMask supports multiple blockchain networks. I personally recommend using the BNB Smart Chain, as it’s fast and has very low transaction fees.
If you’d like to learn how to transfer USDT from Binance to your MetaMask wallet, check out the detailed guide linked below.
Related Content
- How to Transfer USDT from Binance to MetaMask Wallet (Step-by-Step Guide)
- How to Buy and Set Up Your First Web3 Domain: The Complete Step-by-Step Guide
- Step-by-Step Guide: How to Transfer SUI Coin from Bybit to Binance
- How to Transfer USDT from One Binance Account to Another – Step-by-Step Guide
Conclusion
Creating a MetaMask wallet is one of the easiest and safest ways to manage your crypto assets. It gives you full control over your funds and access to the growing world of decentralized apps. Always keep your secret recovery phrase and password secure, as losing them means losing access to your wallet. Once your wallet is set up, you can start sending, receiving, and exploring the decentralized web with confidence.